
Dive into the world of artistry by learning how to paint rocks in acrylic. Begin by selecting your favorite acrylic colors and a sturdy brush to bring these natural beauties to life. Start by outlining the rock’s shape and gradually layering shades to create depth and texture. Embrace the versatility of acrylic paint to capture the intricate details and unique patterns of each rock. Let your creativity flow as you master the art of painting rocks in acrylic.

How to Paint Rocks in Acrylic: A Fun and Creative Guide for Kids
Welcome young artists and rock painting enthusiasts! In this exciting guide, we will explore the wonderful world of painting rocks using acrylic paints. Painting rocks is a fantastic way to unleash your creativity, relax, and create beautiful pieces of art that you can keep or share with others. So, grab your paintbrushes and let’s dive into the colorful and magical world of rock painting!
Why Paint Rocks with Acrylic?
Acrylic paints are a great choice for rock painting because they are vibrant, fast-drying, and easy to work with. They come in a wide range of colors, making it easy to create any design you can imagine. Acrylic paints also provide good coverage, so you can easily layer colors and add fine details to your rock paintings.
Materials You Will Need
Before you start painting rocks, make sure you have all the necessary materials handy. Here’s what you will need:
Materials:
- Smooth rocks of various sizes
- Acrylic paints in various colors
- Paintbrushes in different sizes
- Cup of water for rinsing brushes
- Palette or disposable plate for mixing colors
- White pencil or chalk for sketching
- Clear varnish or sealer (optional)
Preparing Your Rocks
Before you begin painting, it’s important to prepare your rocks. Start by washing them with water to remove any dirt or debris. Once they are clean and dry, you can start painting! If you like, you can also apply a layer of white acrylic paint as a base coat to make the colors pop.
Choosing Your Design
Now comes the fun part – choosing your design! You can paint anything you like on your rocks, from simple patterns and shapes to intricate landscapes and characters. If you’re feeling stuck for ideas, take a walk outside and let nature inspire you. You can also search for rock painting ideas online for endless inspiration!
Painting Your Rocks
Once you have your design in mind, it’s time to start painting! Here are some simple steps to follow:
Step 1: Sketch Your Design
Use a white pencil or chalk to lightly sketch your design on the rock. Don’t worry about making it perfect – the sketch is just a guide for your painting.
Step 2: Paint the Base Colors
Start by painting the base colors of your design using broad brush strokes. Let each color dry before adding another to prevent smudging.
Step 3: Add Details
Once the base colors are dry, you can add details to your design using smaller brushes. Take your time and enjoy the process of bringing your rock painting to life!
Step 4: Let It Dry
Allow your rock painting to dry completely before handling or sealing it with a clear varnish or sealer. This will help protect your artwork and make the colors last longer.
Displaying and Sharing Your Rock Paintings
Once your rock paintings are complete, you can display them in your home or garden to add a touch of color and creativity. You can also give them as gifts to friends and family or hide them in your community for others to find and enjoy. Rock painting is a wonderful way to spread joy and positivity!
Congratulations, young artists, on mastering the art of painting rocks in acrylic! Remember, the most important thing is to have fun and let your creativity flow. So, grab your paints and rocks, and start painting your way to a colorful and imaginative world of art!
Happy painting!
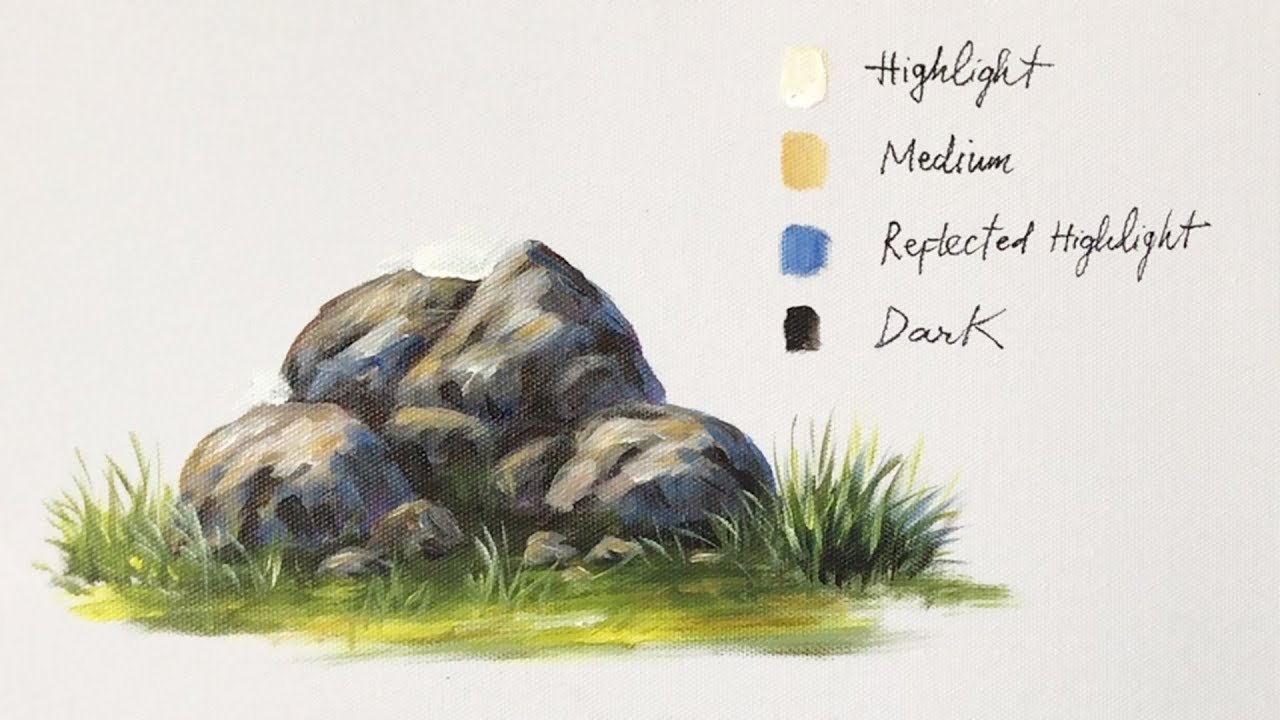
Easy ROCKS – Acrylic painting tutorial
Frequently Asked Questions
How can I prepare rocks for painting with acrylic?
To prepare rocks for painting with acrylic, start by cleaning them thoroughly using soap and water to remove any dirt or debris. Once they are clean and dry, you can apply a layer of gesso to create a smooth surface for the paint to adhere to. Allow the gesso to dry completely before starting to paint.
What type of acrylic paint is best for painting rocks?
For painting rocks with acrylic, it is recommended to use acrylic paint that is suitable for multi-surface applications. These paints are designed to adhere well to a variety of surfaces, including rocks, and often have a durable finish once dried. Make sure to choose colors that you like and that will stand out against the rock surface.
How can I add details and texture to painted rocks?
To add details and texture to your painted rocks, you can use a variety of techniques such as dry brushing, stippling, or layering different colors. You can also use fine tip paintbrushes or even toothpicks to create intricate designs or patterns. Experiment with different techniques to achieve the desired look for your painted rocks.
Final Thoughts
In conclusion, painting rocks in acrylic can be a fun and creative way to add natural elements to your art. By following the steps outlined above, you can achieve realistic and textured rock paintings. Remember to start with a base color, add shading and highlights, and use a variety of brush strokes. Experimenting with different techniques and colors will help you create unique and captivating rock paintings in acrylic. Enjoy the process and let your creativity shine through in each stroke. Happy painting!