
Unscrewing a ceiling light cover might seem tricky, but with the right approach, it can be a simple task. To remove a ceiling light cover, start by turning off the power. Then, carefully unscrew the fasteners holding the cover in place. Gently lower the cover down, and voila! You’ve successfully learned how to take off a ceiling light cover. It’s a quick process that can give you access to change bulbs or clean your lighting fixture effortlessly.

How to Take Off Ceiling Light Cover: A Step-by-Step Guide
Have you ever struggled with changing a light bulb or cleaning your ceiling light fixture because you couldn’t figure out how to remove the cover? Worry no more! In this comprehensive guide, we will walk you through the simple steps of taking off a ceiling light cover. With just a few tools and a bit of knowledge, you’ll be able to tackle this task with ease and confidence.
Why Do You Need to Remove the Ceiling Light Cover?
Before we delve into the steps of removing a ceiling light cover, let’s understand why it’s necessary in the first place. Over time, dust, insects, and debris can accumulate on the inside of the cover, reducing the brightness of your light and making it look dingy. By removing the cover, you can clean it thoroughly, replace the light bulb if needed, or make any necessary repairs to the fixture.
Tools You’ll Need
Before you begin, gather the following tools to make the process smoother:
- Step ladder
- Screwdriver (flathead or Phillips, depending on your fixture)
- Soft cloth
- Replacement light bulb (if necessary)
Step 1: Turn Off the Power
Safety first! Before handling any part of your ceiling light fixture, make sure to turn off the power at the circuit breaker. This will prevent any accidents or shocks while you work on removing the cover.
Step 2: Identify the Type of Ceiling Light Cover
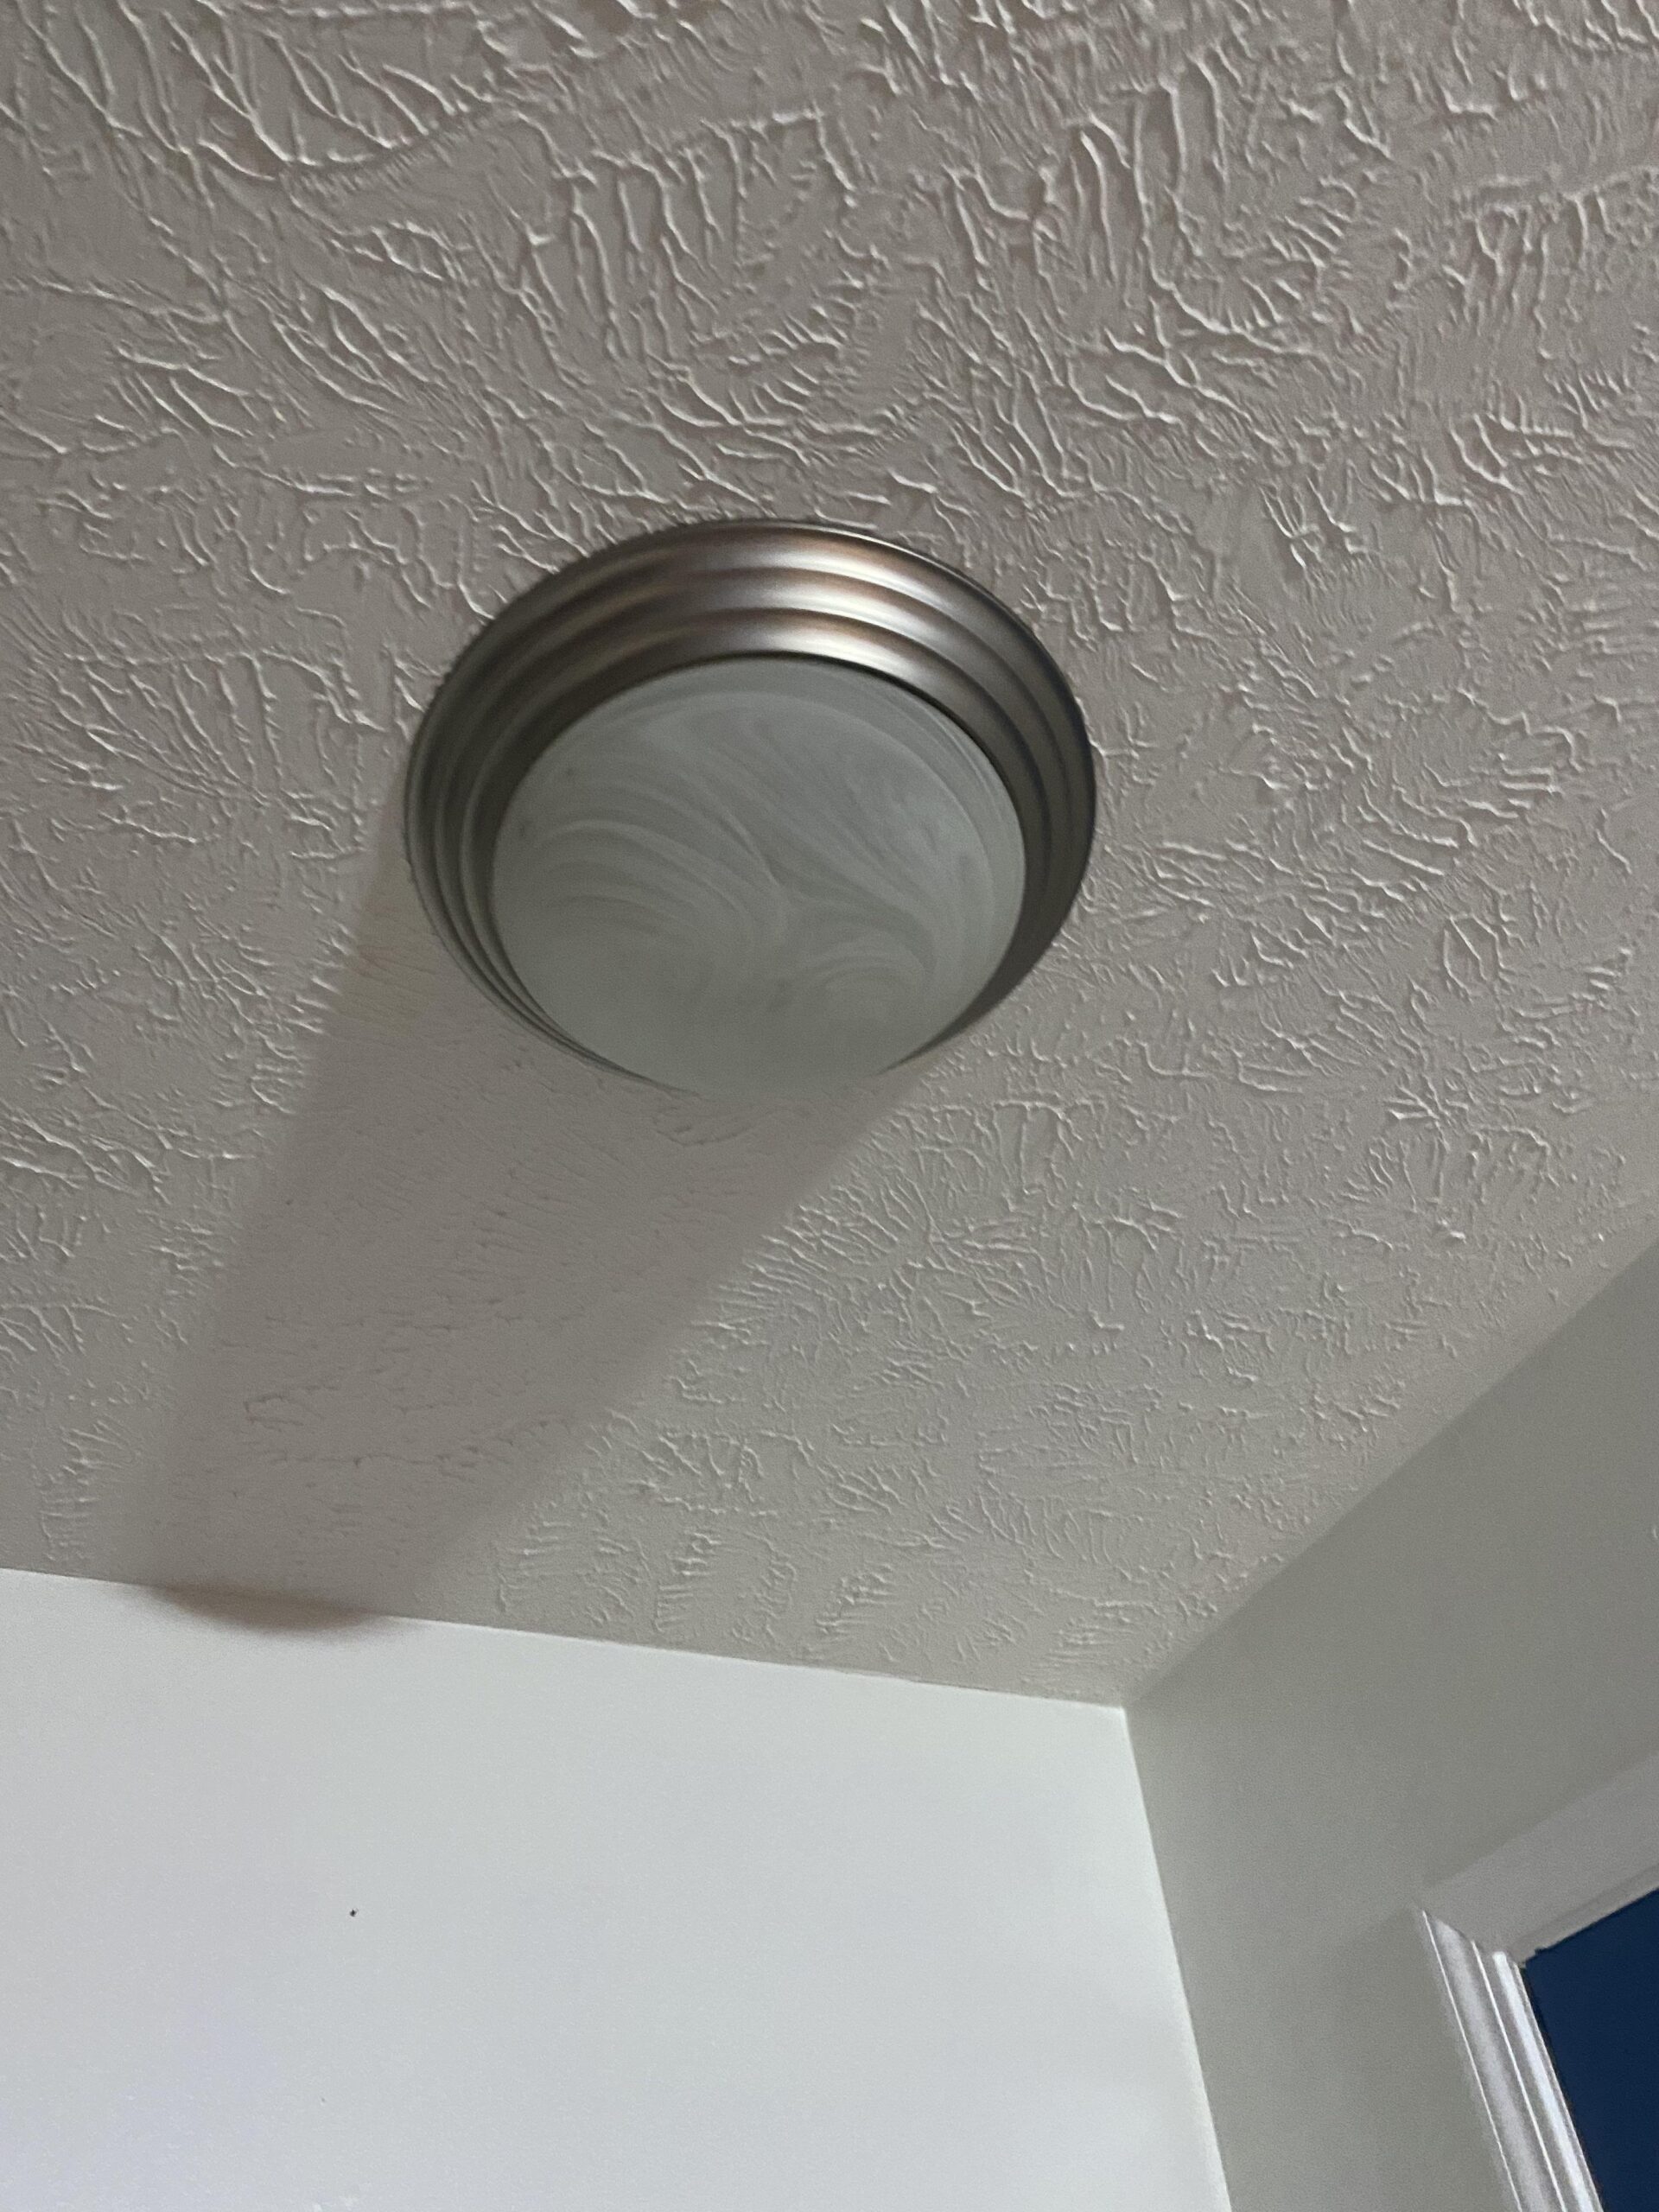
Ceiling light covers come in various designs, so it’s essential to identify the type you have before attempting to remove it. Common types include twist-on covers, spring-loaded covers, and screw-on covers. Each type requires a different approach for removal.
Step 3: Removing a Twist-On Ceiling Light Cover
If your light cover twists onto the fixture, follow these steps:
- Climb the step ladder to reach the ceiling light.
- Gently twist the cover counterclockwise to loosen it from the fixture.
- Once the cover is loose, carefully lower it down to remove it completely.
Step 4: Removing a Spring-Loaded Ceiling Light Cover
If your cover is held in place by springs, proceed as follows:
- Climb the step ladder and locate the springs around the edge of the cover.
- Press the springs inward while gently pushing the cover up to release it from the fixture.
- Once the springs are released, lower the cover down and set it aside.
Step 5: Removing a Screw-On Ceiling Light Cover
For fixtures with screw-on covers, follow these steps:
- Climb the step ladder and locate the screws holding the cover in place.
- Use the appropriate screwdriver to remove the screws by turning them counterclockwise.
- Once the screws are out, carefully lower the cover and set it aside.
Step 6: Clean and Replace
With the cover removed, take this opportunity to clean both the inside of the cover and the fixture itself. Use a soft cloth to wipe away any dust or dirt that has accumulated. If the light bulb needs replacing, now is the perfect time to do so. Simply twist out the old bulb and insert a new one of the same wattage.
Step 7: Reinstall the Ceiling Light Cover
After cleaning and making any necessary replacements, it’s time to put the cover back on. Follow the reverse steps of the removal process based on the type of cover you have. Make sure the cover is securely in place before restoring power at the circuit breaker.
Congratulations! You’ve successfully learned how to take off a ceiling light cover. With this newfound knowledge, you can now maintain your ceiling light fixture with ease and keep your space well-lit and welcoming. Remember to always prioritize safety by turning off the power before working on any electrical components. Now go ahead and give your ceiling light a fresh new look!
Happy lighting!
How to Remove a Glass Ceiling Light Cover
Frequently Asked Questions
How do I safely remove a ceiling light cover?
To safely remove a ceiling light cover, first, make sure the light is turned off. Use a ladder to reach the fixture and locate the screws or clips securing the cover. Carefully loosen the screws or unhook the clips to release the cover. Support the cover with one hand as you remove the last screw or clip to avoid it falling.
What tools do I need to take off a ceiling light cover?
The tools you may need to remove a ceiling light cover typically include a screwdriver (Phillips or flat-head, depending on the screws), a ladder to reach the fixture safely, and a soft cloth to handle the cover without leaving marks or fingerprints on it.
Can I clean the ceiling light cover while it’s removed?
Yes, you can clean the ceiling light cover while it’s removed. Once you have successfully taken off the cover, gently wipe it with a damp cloth or a mild soapy solution. Ensure the cover is completely dry before putting it back to prevent any electrical hazards.
Final Thoughts
To remove a ceiling light cover, follow these steps: First, turn off the power. Next, gently twist or unscrew the cover counterclockwise. If there are screws holding the cover in place, use a screwdriver. Once the cover is loose, carefully lower it down to access the light bulbs. Remember safety first when handling any electrical components. Taking off a ceiling light cover is a simple task that can freshen up your space instantly.